
Is STAR WARS: Galactic Racer a Roblox game?
No. Fuse Games on PS5, Xbox Series, and Steam app 4078430. This beginner guide has no codes page.
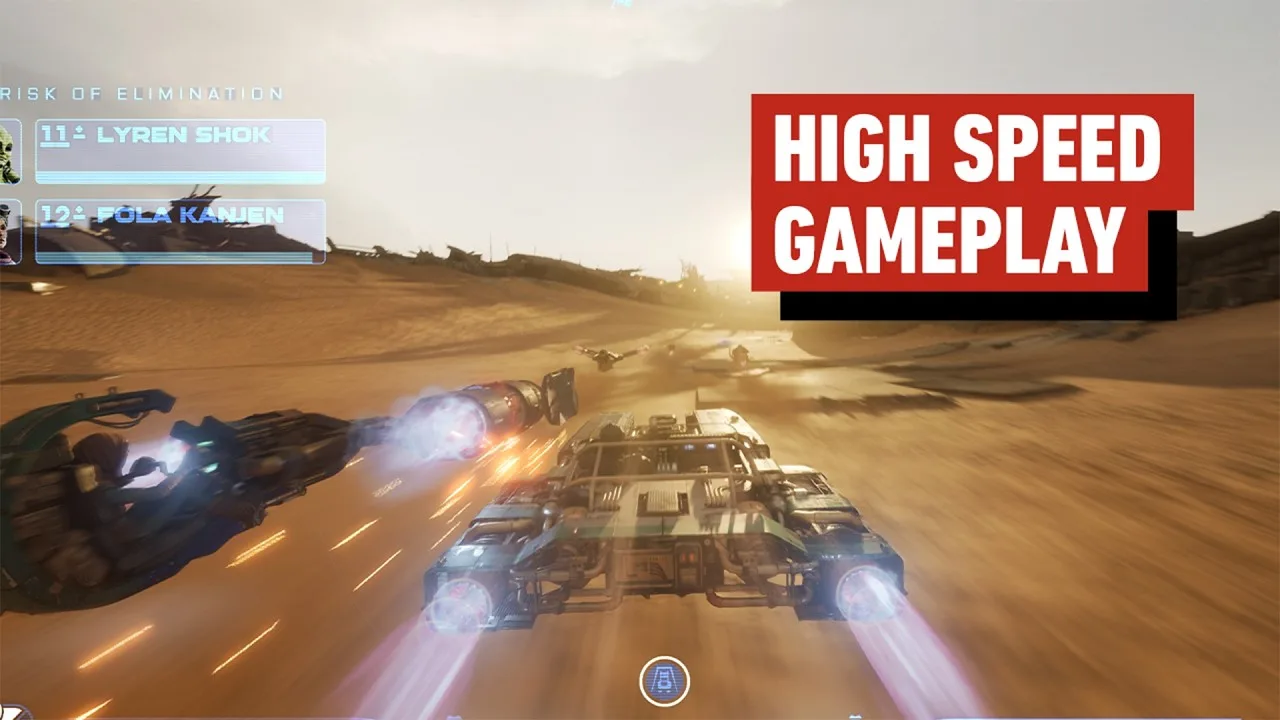
This STAR WARS: Galactic Racer beginner guide is the first Campaign Tour loop for STAR WARS: Galactic Racer: pick a chassis, land a clean countdown launch, spend Afterburner and Ramjet without cooking the engines, visit Hibi Esuufa, and keep enough Crash allowance to protect the League Token. Fuse Games, published by Secret Mode. Out now October 6, 2026. Verified October 7, 2026 · Steam · official site.
There is no Force meter. Podracers are a separate set (Arcade / later events), not the default Campaign start. Use this walkthrough on the live SKU — not Episode I Racer muscle memory, and not a Roblox clone.
| Fact | Detail |
|---|---|
| Platform | PC (Steam) · PlayStation 5 · Xbox Series X|S |
| Genre | Runs-based racing · Galactic League |
| Modes beside Tour | Campaign Tour · Arcade · Scenario · online PvP |
| Studio | Fuse Games · Secret Mode |
| Release | October 6, 2026 |
| Steam | app 4078430 |
| Force | None — official pitch |
| Tour shape | Three Acts per Galactic Tour; branching events; wreck-out |
Open STAR WARS: Galactic Racer on PS5, Xbox Series, or Steam. Campaign puts you in Shade’s boots at the Jakku paddock. Darius Pax pushes an exhibition, Hibi wants you racing, and Kestar Bool is already the champion you are supposed to dethrone. The STAR WARS: Galactic Racer beginner guide loop begins the moment you accept that first qualifying heat — not after you unlock Podracers.
Lights-out uses the in-game launch HUD. Copy whatever the live bar labels as the good window; this wiki will not freeze a recap nickname or a three-segment diagram as HUD law. Over-revving into the first corner is still a Crash trap, not a photo finish.
Shade is the hull you drive. Darius Pax talks you into the exhibition and hands the first League Token problem. Hibi Esuufa is the shop. Kestar Bool is already champion and will not wait for you to finish a STAR WARS: Galactic Racer beginner guide. Sebulba is coaching and Arcade flavor, not your first chassis. Learn those names so the map nodes make sense.
Once the route is chosen, the next decision is which hull you are willing to crash in — that is the chassis section.
Tour starts use three repulsorcraft. Podracers sit in Arcade, deluxe events, and a separate online Tour — they are not the default STAR WARS: Galactic Racer beginner guide hull. Pick for the first hour, then read the full vehicles table.

| Chassis | Feel | Signature | Beginner pick? |
|---|---|---|---|
| Landspeeder | Heavier, drift-stable, soaks hits | Drift | Yes — default first Tour |
| Speeder Bike | Small, fast straights, tips in contact | Kinetic Burst | Second hull once launches are clean |
| Skim Speeder | Momentum, tight gaps, harder hands | Knife Edge | After you can hold a drift mid-pack |
| Podracer | Peak speed, fragile, split engine/cockpit | Mos Espa / Arcade set | Not the Campaign start |
Sebulba and Tatooine flavor live in Arcade and Podracer-only sessions. Campaign Shade still has to survive Jakku wrecks, Sentinel fog, and ice on Ando Prime with the first three classes. Deluxe Kor Sarun skins are edition extras on bike / landspeeder / skim — not a fifth class.
Hull chosen, the boost pair is what actually ends first Tours — Afterburner versus Ramjet.
Two boosts, two jobs. Afterburner is the repeatable shove. Ramjet is the primed burst that also slams rivals — and it cooks the engines if you hold it like a nitro cheat.

| System | When to press | Fail state |
|---|---|---|
| Afterburner | Exit, catch-up, chain after a clean drift | Empty battery; some malfunctions freeze the hull when it dumps |
| Ramjet | Primed engine; pass, shunt, or finish a takedown | Overheat → explode / wreck |
| Ice / water patches | Drive through to dump heat while Ramjet is live | Missing the patch and holding the burst anyway |
| Vent (Ability) | Dump heat on Ramjet / Redliner Styles | Spending the slot on Shield when you never get hit |
| Shield (Ability) | Packed midfield, Eliminator walls | Wasting it on an empty straight |
| Autopilot (Ability) | Cave / trap corridors you have not learned | Firing it on a wide salt flat |
A frozen hull hurts handling and drift feel, but it also delays Ramjet overheat. Read the status, then decide whether to fight it or ride it. Malfunctions on Parts are temporary downgrades you can pay Credits to clear at mid-run shops — if you spent every credit on a greedy Fault Part, you cannot afford the fix.
Boosts only matter if the paddock loadout still has room to take a hit. That is Hibi’s loop.
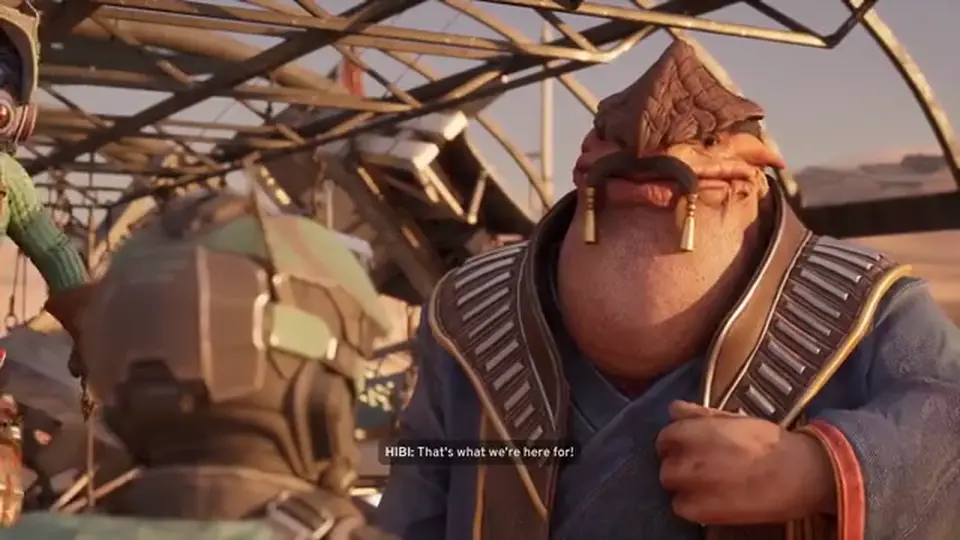
Hibi Esuufa is the Ardennian mechanic in each planet paddock. Between heats you buy and fit Parts (standard cap: five), grab Abilities, and spend Tour upgrade points. Those points are run-only. Credits, unlocked Favors, Racer Styles, and some chassis growth can persist after a failed Tour — confirm per mode on builds.
| Spend | Priority on Tour 1 | Why |
|---|---|---|
| Cornering / drift upgrades | First | Every circuit is trap-lined; speed without turn is a Crash |
| Afterburner / battery | Second | Repeat boost without living on Ramjet |
| Resilience | When you get shunted in midfield | Bike and skim eat contact worse than landspeeder |
| Ramjet | Only after you can release on time | More burst with no off-habit = more explosions |
| Ability: Autopilot or Shield | Situational | Caves vs packed Eliminator |
| Fault Parts | Skip until you can pay the fix | Malfunctions freeze / tax Afterburner dumps |
Branching map nodes sometimes skip the race and offer a backdoor deal: extra upgrade points versus halved Credits, or the reverse. Later, backers attach extra challenges to a heat in exchange for payout modifiers. Ignore every social node and you starve the shop. Take every high-risk deal on crash-2 and you donate the Token. Read the con, not the flavor title.
Public materials cite about 14 Racer Styles. Named directions in press include Afterburner, Cooled, plus play descriptions Ramjet Rider / Redliner / Firebug — not a complete official list. Favors such as Darius’s Clandestine Aid (extra Tokens / starting Credits in recaps) and Sebulba’s Feet First are equipped before the Tour. Unlock more Crash allowance and Tokens here when the game offers them; that is more valuable than a cosmetic Style you cannot drive.
Paddock set, the remaining beginner skill is knowing which event is allowed to kill you.
Matched by build plan, shared topics, and guide progression — not random related links.
Wreck-out is the run-fail, not a respawn joke. Many heats give a Crash budget. Spend it and you are out of that race. Lose the League Token on a qualifier or Eliminator cutoff and the Tour can end even if the hull still looks fine.
| Situation | Do this |
|---|---|
| Crash-1 remaining, packed midfield | Brake the greedy Ramjet; finish the heat; shop Resilience |
| Eliminator: “top three or lose Token” | Drive front-pack, not highlight-reel shunts |
| Safe node vs high-pay Eliminator | Safe until you have spare Crashes / a second Token Favor |
| Malfunction you cannot afford to fix | Skip the next Fault Part; pay the shop first |
| You already unlocked a keeper Style / Favor | You can retire a dirty Tour; keepers stay, run loot does not |
| Bool / late Act headline | Do not enter on crash-0 hoping for a miracle line |
Temporary: Tour upgrade points, most fitted Parts for this run, route choices. Persistent (public recaps, confirm in-game): Galactic Credits, unlocked Part pool, Favors, Styles, some chassis growth, multiplayer XP. Do not throw a Token defending junk Parts you cannot take into the next Tour.
There is no honest public “8-hour campaign.” Length is run-based: three Acts, then Bool, plus however many wreck-outs you eat. Details stay on campaign. This beginner walkthrough only needs you to finish one clean Act 1 with the Token intact.
Scan the mistake table before you queue the next node — it is the executable mid-page checklist for a live heat.
Use this as a pre-lights list. It is the same facts as above, mapped to the failure you will actually see on the HUD.
| Mistake | Fix |
|---|---|
| Over-revving the countdown launch | Hit the good window on the live HUD, then brake for corner one |
| Starting Campaign in a Podracer | Landspeeder first; Podracers are a separate set |
| Holding Ramjet until explosion | Burst, release, hunt ice/water, unlock Vent |
| Buying top speed before Cornering | Spend Tour points on drift / turn first |
| Five Fault Parts and zero Credits | Leave a slot empty; pay malfunction repairs |
| Every node is Eliminator | Take a pay-down heat when Crash-1 |
| Spending the last Crash to “make the highlight” | Finish the race; Token > clip |
| Ignoring Hibi between heats | Five-Part cap is wasted if you never visit the shop |
| Expecting Force powers | There are none — line, shunt, loadout |
| Buying this for split-screen couch | Read multiplayer before you refund |
Before the lights: Crash count, Token count, which boost is primed, which Ability is bound. After the heat: Credits to Hibi before the map. That two-look loop is the entire STAR WARS: Galactic Racer beginner guide until Styles and Favors get their own page.
No. Fuse Games on PS5, Xbox Series, and Steam app 4078430. This beginner guide has no codes page.
Not for Campaign Tour 1. Public materials treat Podracers as Arcade / later / separate online Tour. Landspeeder is the beginner hull.
No. Official pitch: no Force. Wins come from lines, chassis, Parts, and wreck-out risk.
Use the countdown launch HUD in-game. Recaps nickname a “perfect” window; copy the live labels, not a wiki diagram.
Release before the engines cook, drive ice or water to dump heat, and pick Vent when the Ability pool offers it. Holding Ramjet like a nitro always explodes.
Three Acts per Tour. No public hour count. See campaign.
Online PvP and multiplayer Tours — multiplayer. Split-screen is not confirmed on Steam.
The vehicles contrast, then builds for Styles, Parts, and Favors.
October 7, 2026
Matched by build plan, shared topics, and guide progression — not random related links.